The Arboretum
Audubon Scientific Illustration Blog #2


Hi Friends!
Today was our first venture out into the Arboretum as a class, where each of us was asked to find a specimen of our choosing to document and draw. Since I joined the class on Zoom, I utilized photographs I had taken of the Arboretum a few months ago as reference images for my piece. Although I took images of many different kinds of plants and animals, I settled on drawing the Native Senna for this assignment.
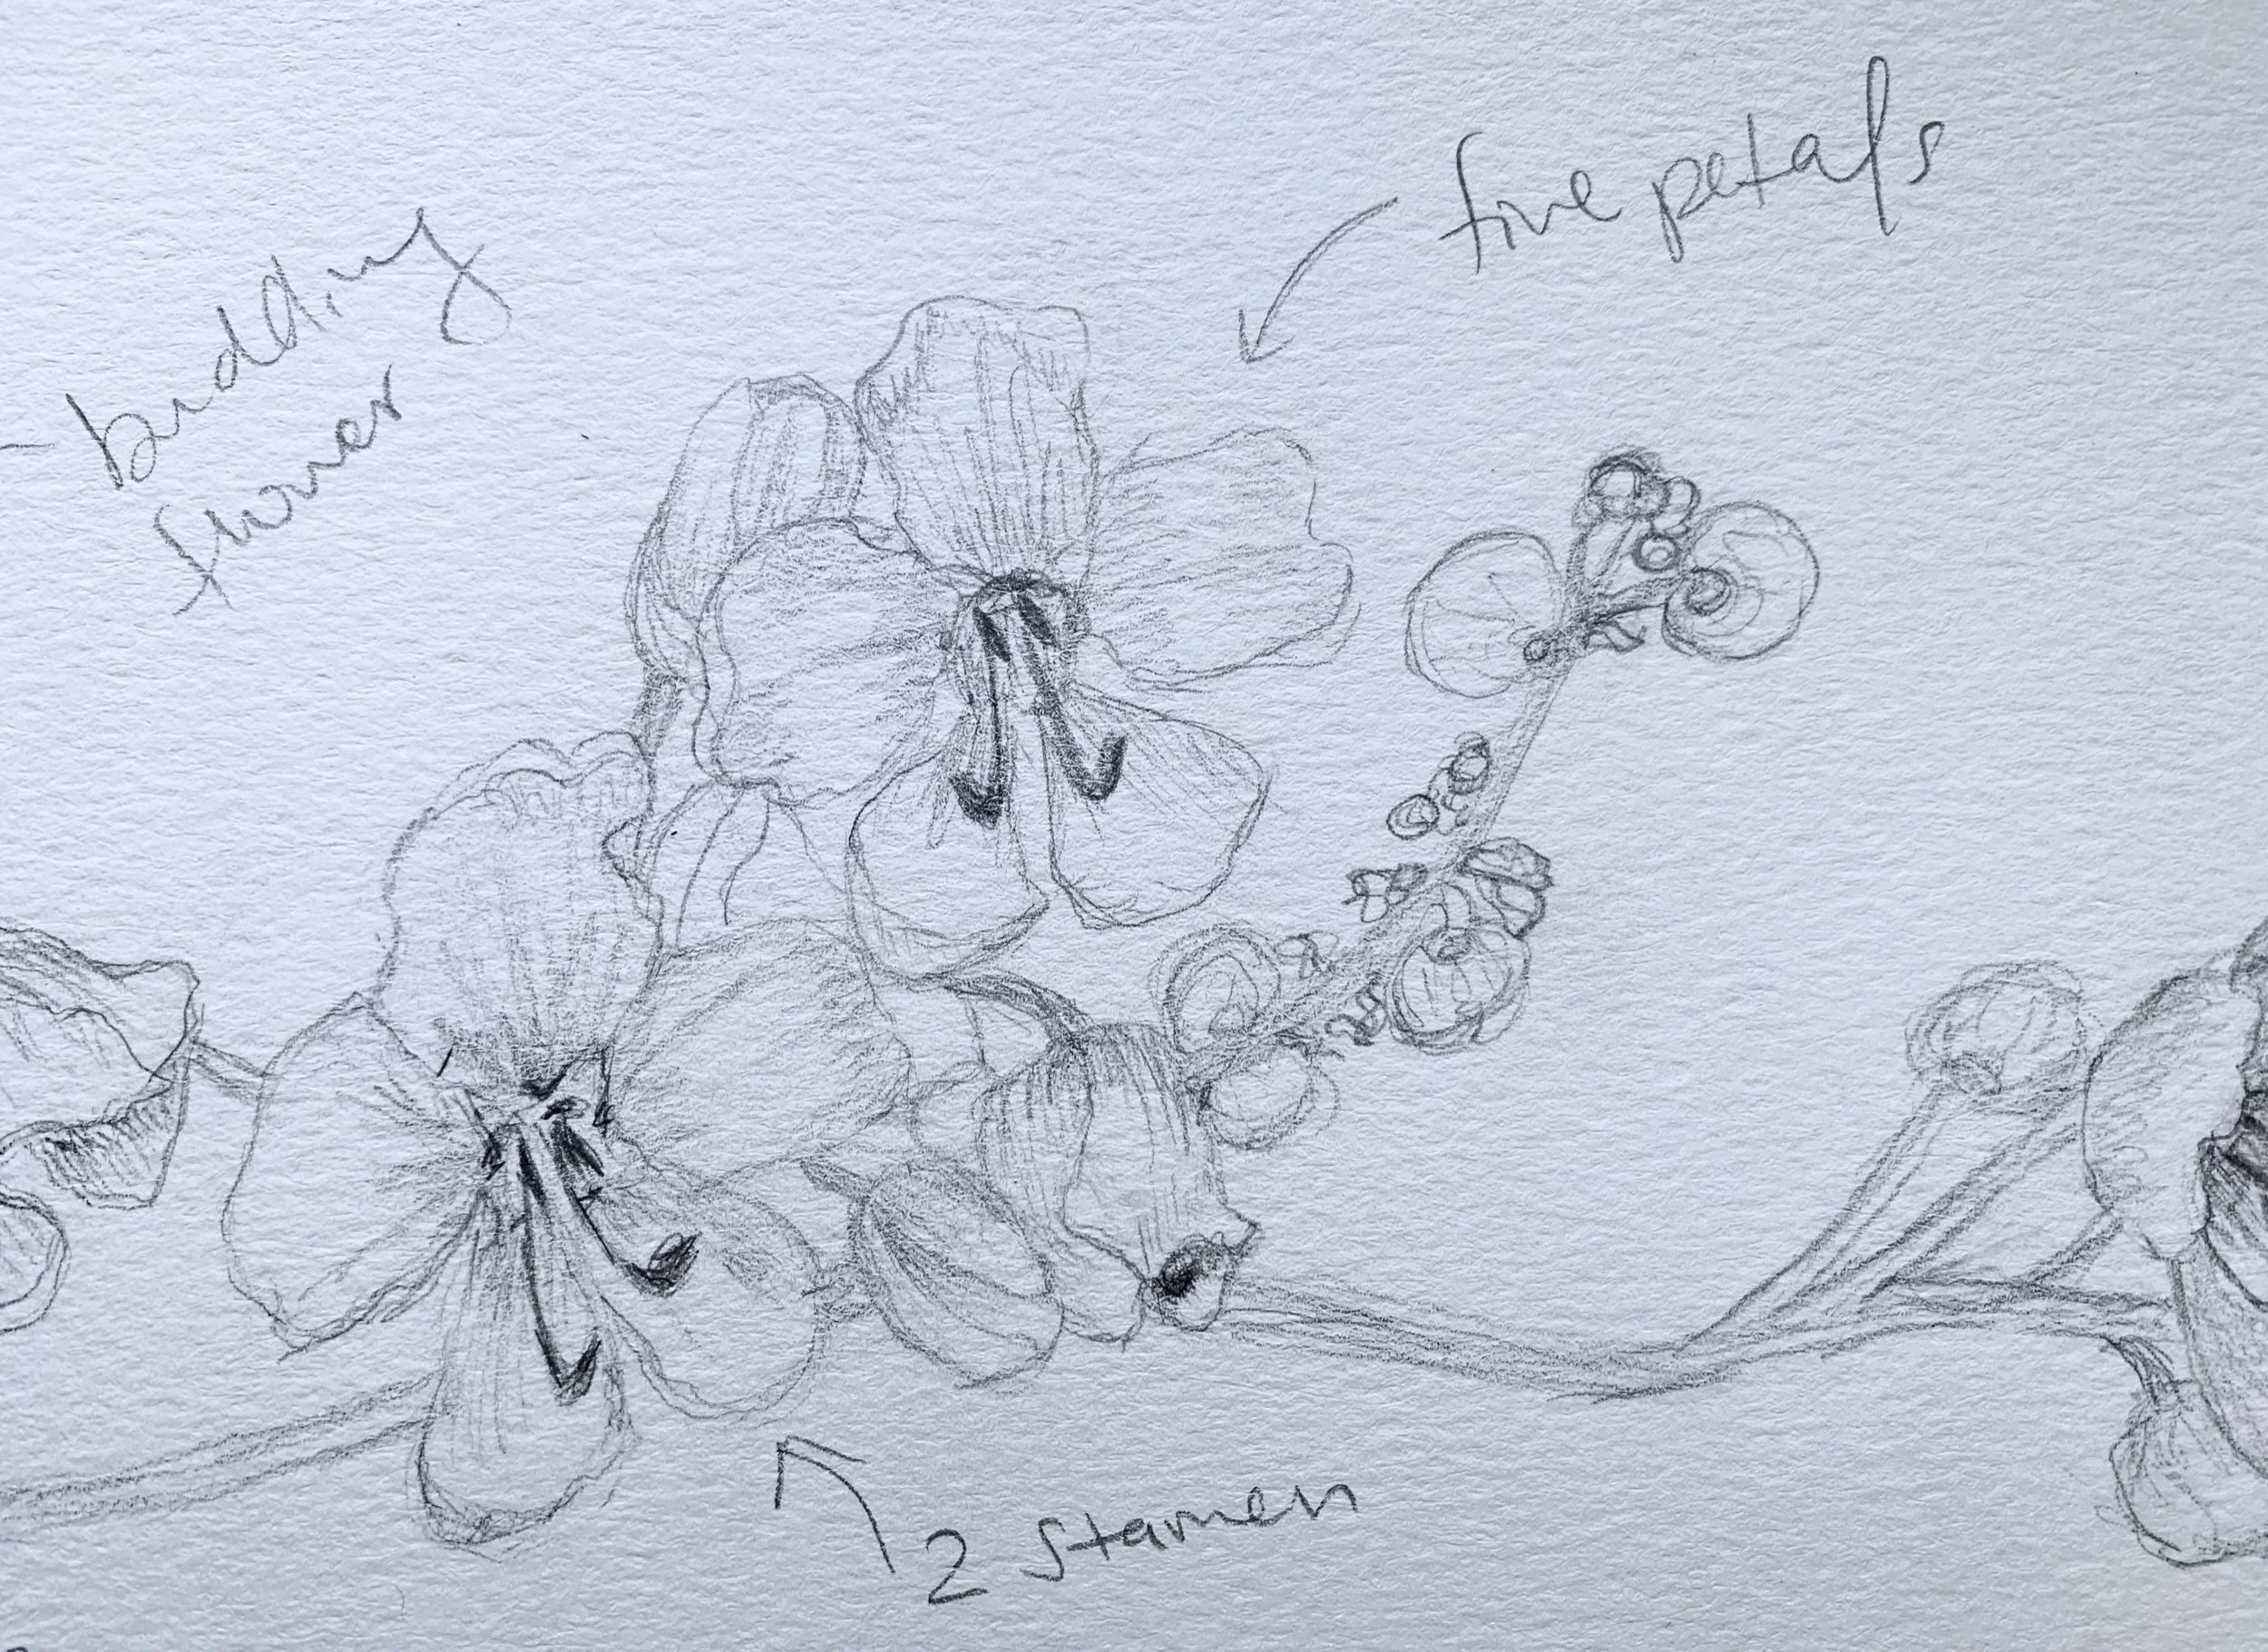
The Privet senna (Senna ligustrina) is an evergreen, perennial shrub native to Florida that has distinctive yellow flowers. Each of these yellow flowers has five petals and two brown stamens. The leaves are pinnately compound, meaning the leaflets are arranged on either side of the stem in pairs that are opposite to each other. The leaflets on the Privet senna are flat, long, narrow, and tapers at the tip. This plant also produces a fruit that is a thin bean pod that begins as green and deepens to a brown color as it ripens. In the Arboretum, this plant serves as food for Cloudless and Orange Barred Sulfer caterpillars.
For my drawing, I used a Prismacolor HB graphite pencil. I began by outlining the basic shape of the flowers and placed lines in the general positions of the stems. Next, I began defining the shape of each of the petals on the two open flowers in the center of my drawing. I found it challenging to shape the petals in a way that accurately portrayed the angles the flowers were facing, so this part took the longest. After completing the outlines of the flowers, I added the stamens and began shading. I used the hatching method to create my shadows. Deepening the values and adding shadows to the flowers is especially important to accurately portray the specimen. This adds visual depth and creates form, making the drawing look more three-dimensional.
Next, I added the leaves and other parts of the specimen surrounding the stems. I also added more details to the piece by darkening the stamens and adding the flowers surrounding the center ones. Finally, I made sure to add notes about the plant itself. These details are essential to identifying the plant.
After completing my drawing, I decided to add some watercolor elements so the colors of the plant are better represented. I used a Winsor and Newton watercolor palette and a Round 4 watercolor brush for this piece. I started by marking my highlights and making sure to leave those areas blank so that the highlight would pop. Taking note of where shadows and highlights fall on a specimen is essential to accurately create a three-dimensional form. To start, I went in with a light wash of yellow on the flowers and green on the leaves/stem. For the base yellow color, I mixed equal parts Lemon Yellow and Cad Yellow together. For the base green color, I mixed Sap Green (yellow undertone) and Viridian Hue (blue undertone), with more Sap Green to make the mixture more warm/yellow toned. Next, I began adding depth by shading the flowers with a deeper yellow color by adding more Cad Yellow to my mixture. This deeper yellow color served as my mid-tone shade.
When working with watercolor, the colors for shadows are often created by adding blue to a color. This helps to create a cool-toned and deeper version of that color. In areas of the flower that needed a deeper value, I mixed Burnt Umber with Ultramarine Hue to create a very deep, almost black color. I added a very light/watered-down wash of this color to the areas of that flower that had the deepest shadows. For the leaves, I added more Viridian Green to my original mixture to make it more blue-toned and used this new mixture for the shadows on the leaves. Here is my final product down below!


